


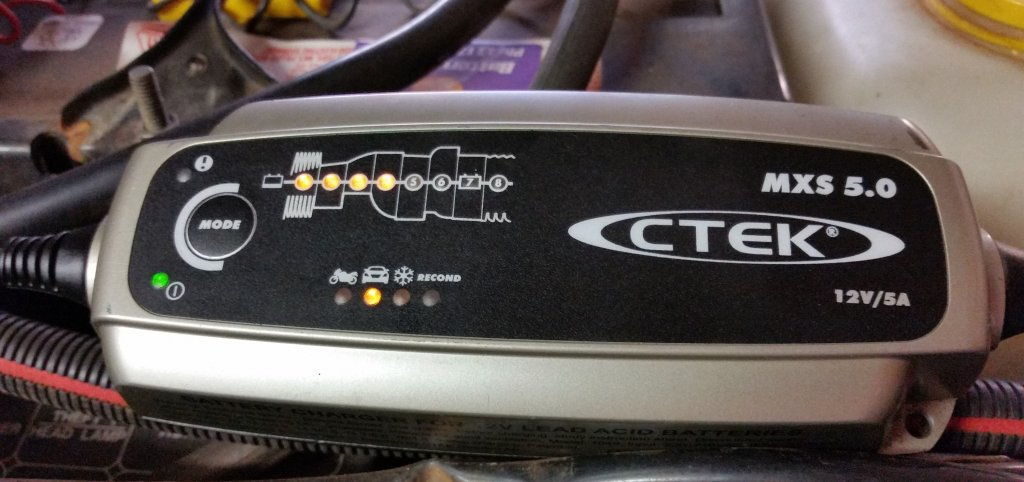
No doubt amongst our members there will be a number of owners of this type battery charger.
Have used mine for a number of years to extend battery life by using the "recond" mode to disulphate.
Because I'm not using my ute regularly I decided to hook up the charger and give the three batteries a boost every couple of weeks.
Connected charger and 240V however the charge mode was stuck on "recond". Disconnected and reconnected power but pressing the "mode" button did not alter the setting.
Had nothing to lose so took the unit out to the shed and removed the four backing plate screws. (one has a plastic grommet jammed in over the screw head, removed with scriber)
***DO NOT HAVE THE UNIT POWERED UP!***
With the backing plate removed the backside of the printed circuit is revealed.
Look closely and you will see that one end where the cables come through there is more spare cable than the other end.
Gently moving the cable you can prise out the printed circuit and turn is over revealing the "mode" micro switch.
Using electrical contact spray liberally coat the underside of micro switch while pressing and rotating the pressure plate.
Carefully refitted the circuit board and the backing late and plugged in the power. ***You don't have to have the charger connected to a battery.***
Hey presto, we have a working charger again with all modes working...
Many $$$$ saved by not following todays trend of throwing it in the bin and buying a new one.
")