


G
Guest
I went out the other day with the Extreme but found it a bit awkward ground balancing on the fly, so yesterday I decided to do the mod myself.
Here's a Jaycar parts list:
1 x 3.5mm mono to mono plug lead, part number WA7006
1 x 3.5mm panel mount mono socket p/n PS0120
1 x switch (push on push again off) p/n SP0704
Grand total of $12.35.
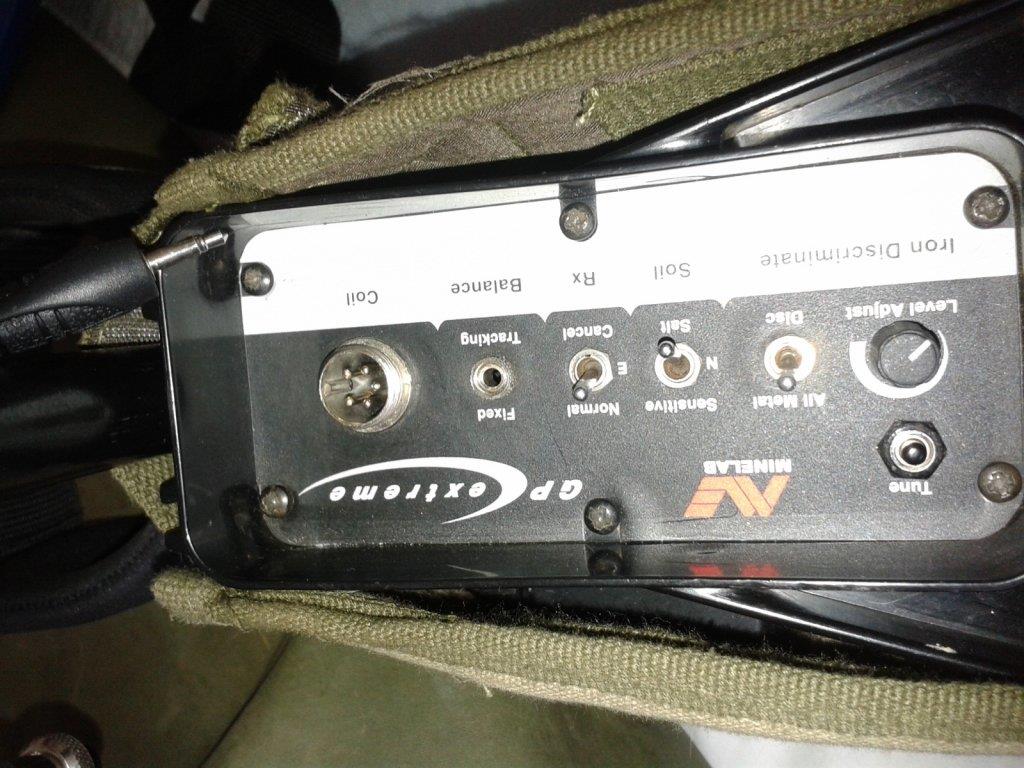
Step 1. Remove the 6 screws in the face plate.
Step 2. Gently remove the end cap and pull it away from the control box, carefully teasing out the wires.
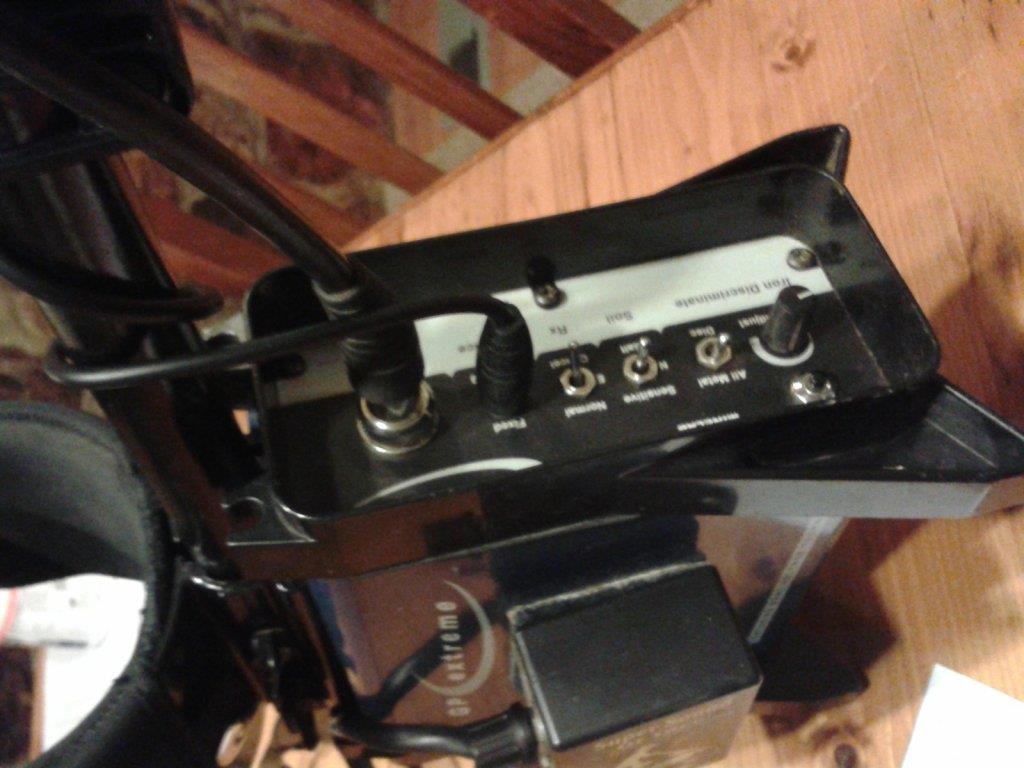
Step 3. Remove the fixed/tracking toggle switch by undoing the retaining nut on the face plate and remove the switch, pull the heat shrink back along the wires, this can be used when the socket is installed.
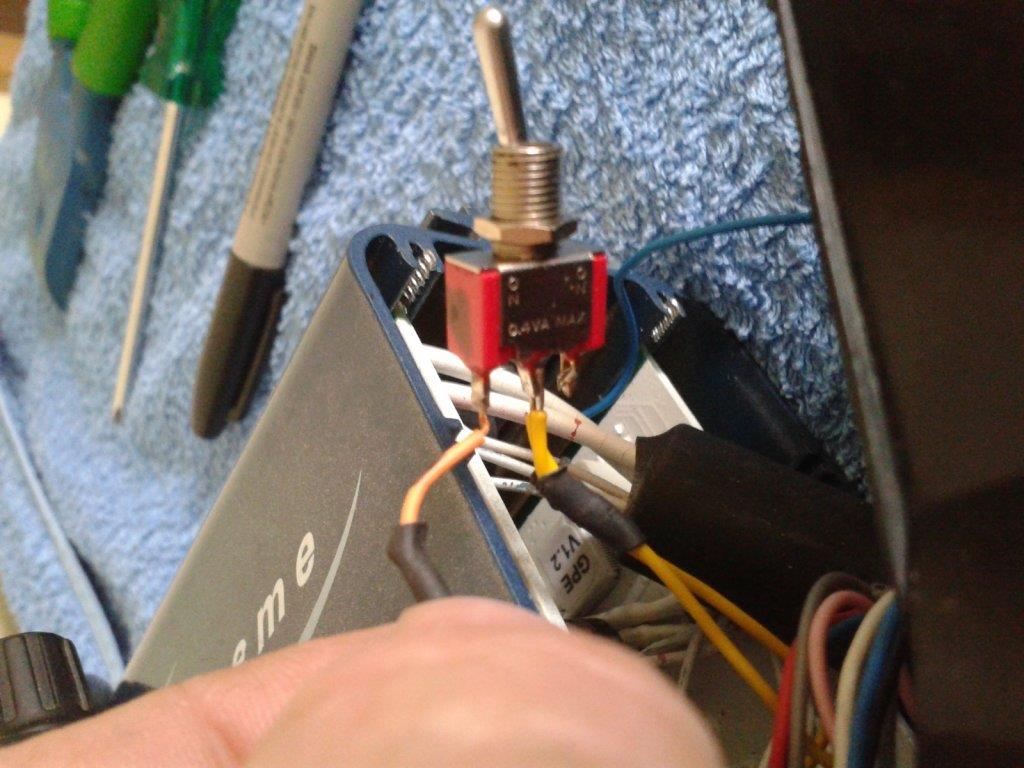
Step 4. Unsolder the wires off the 2 terminals and keep the switch, this can be used to unmodify it should you wish to sell the machine")
Step 5. Resolder the wires onto the 2 terminals on the mono socket and insert it where the fixed/tracking switch was, this saves drilling holes in the face plate.
It doesn't matter which way the wires go on the socket, all it does is make a connection when the button is pressed. Pull the heat shrink back over the terminals.
You will have this:
and replace the end cap and screws.
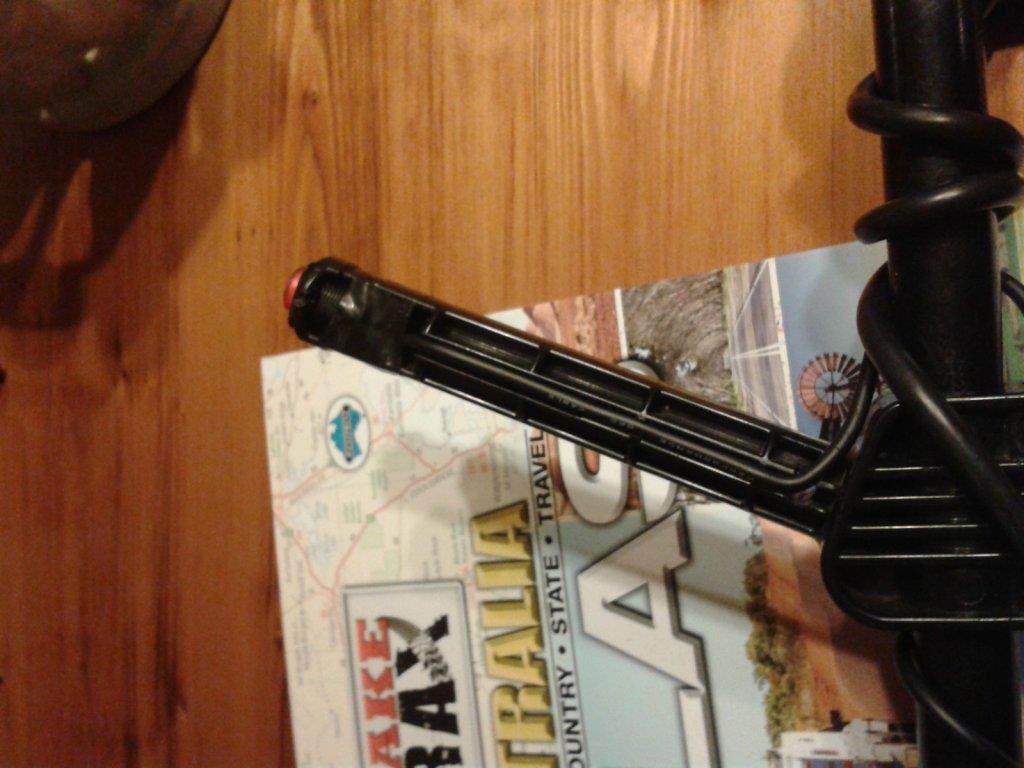
Now its time to modify the handle.
Step 1. Drill a 15mm hole on the end of the handle, then remove approx 15mm of the plastic along the handle so the switch fits, a hack saw will do this fine.
Step 2. I made a channel along the handle to run the wire down from the switch to the control panel.
Step 3. Connect the plug into the socket on the c/p and run it to the handle, I put it where the screws hold the handle to the shaft, there's enough room and it looks neat and tidy, run it along the handle to the switch, cut and solder to the 2 terminals, again, it doesn't matter which way round they are soldered.
Step 4. Replace hand grip and plug in to the c/p.
You will end up with this:
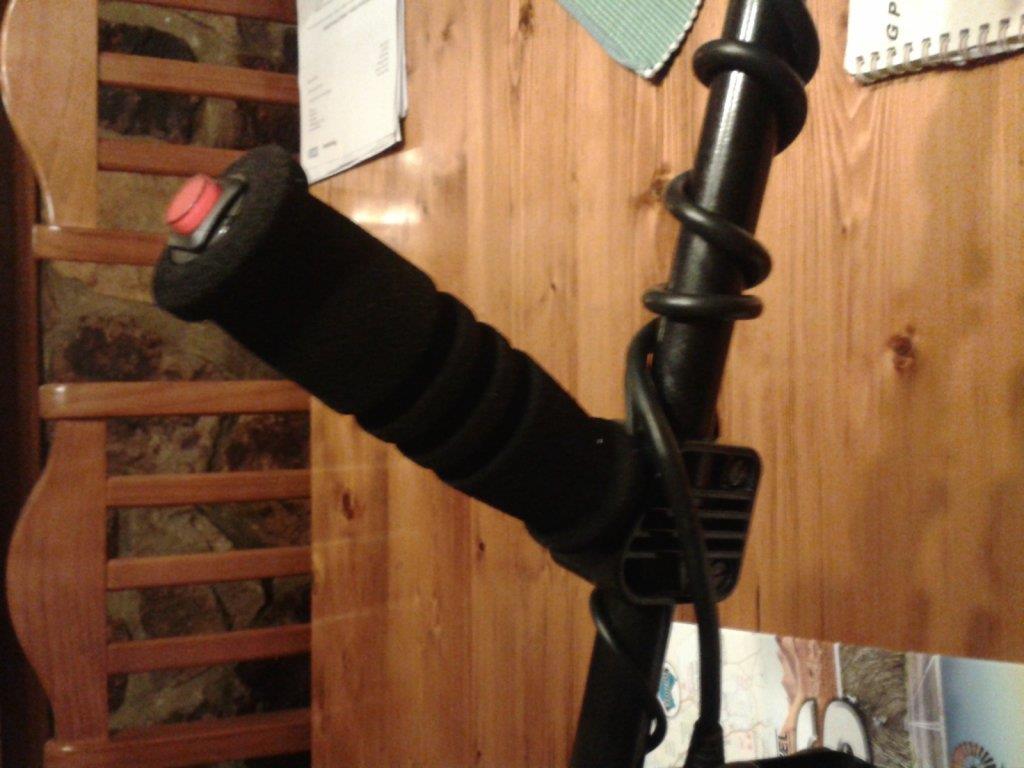
Push to ground balance or in tracking mode, and push again to use in fixed mode.
I hope this tutorial will help others upgrade their sd/gp series detector.
The whole process took me about an hour and I have no soldering skills at all
Cheers,
Paul
ps. Sorry about some pics being upside down, I had to do this on my phone.
Here's a Jaycar parts list:
1 x 3.5mm mono to mono plug lead, part number WA7006
1 x 3.5mm panel mount mono socket p/n PS0120
1 x switch (push on push again off) p/n SP0704
Grand total of $12.35.
Step 1. Remove the 6 screws in the face plate.
Step 2. Gently remove the end cap and pull it away from the control box, carefully teasing out the wires.
Step 3. Remove the fixed/tracking toggle switch by undoing the retaining nut on the face plate and remove the switch, pull the heat shrink back along the wires, this can be used when the socket is installed.
Step 4. Unsolder the wires off the 2 terminals and keep the switch, this can be used to unmodify it should you wish to sell the machine
Step 5. Resolder the wires onto the 2 terminals on the mono socket and insert it where the fixed/tracking switch was, this saves drilling holes in the face plate.
It doesn't matter which way the wires go on the socket, all it does is make a connection when the button is pressed. Pull the heat shrink back over the terminals.
You will have this:
and replace the end cap and screws.
Now its time to modify the handle.
Step 1. Drill a 15mm hole on the end of the handle, then remove approx 15mm of the plastic along the handle so the switch fits, a hack saw will do this fine.
Step 2. I made a channel along the handle to run the wire down from the switch to the control panel.
Step 3. Connect the plug into the socket on the c/p and run it to the handle, I put it where the screws hold the handle to the shaft, there's enough room and it looks neat and tidy, run it along the handle to the switch, cut and solder to the 2 terminals, again, it doesn't matter which way round they are soldered.
Step 4. Replace hand grip and plug in to the c/p.
You will end up with this:
Push to ground balance or in tracking mode, and push again to use in fixed mode.
I hope this tutorial will help others upgrade their sd/gp series detector.
The whole process took me about an hour and I have no soldering skills at all
Cheers,
Paul
ps. Sorry about some pics being upside down, I had to do this on my phone.