The Bus Stop Sluice (12" DIY)

Prospecting Australia

Help Support Prospecting Australia:

This site may earn a commission from merchant affiliate links, including eBay, Amazon, and others.
Joined
Jan 27, 2016
Messages
274
Reaction score
295
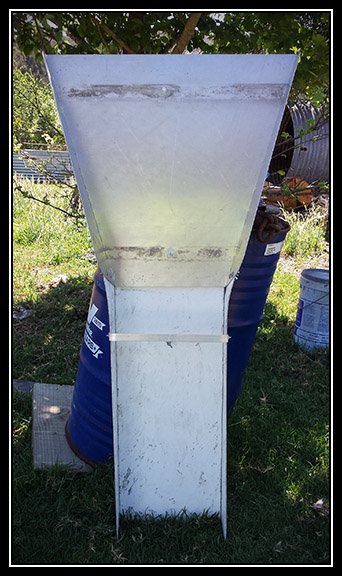
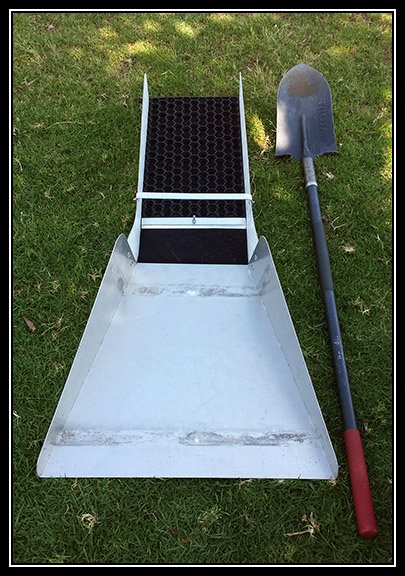
A little while ago I decided I had to make something...you know how you get that DIY bug. So I decided I should attempt a Sluice...
Where to get the Aluminium? How about Bunnings? Nah, not the right sizes and too expensive for DIY.
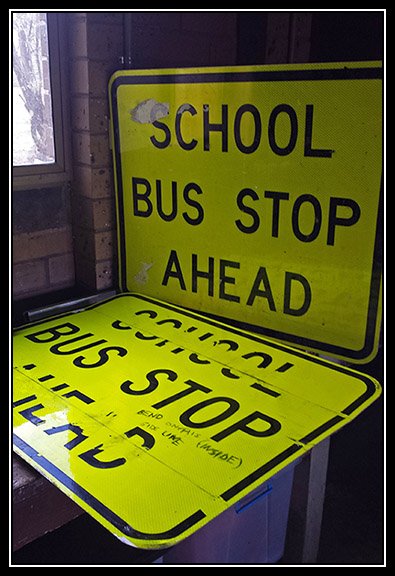
How about the scrap metal yard? Yep...road signs! How's $2.50 per sign sound he said...DONE!!! $5 for metal is a tick in the cheap box and definitely got the nod by the minister of finance. :lol:
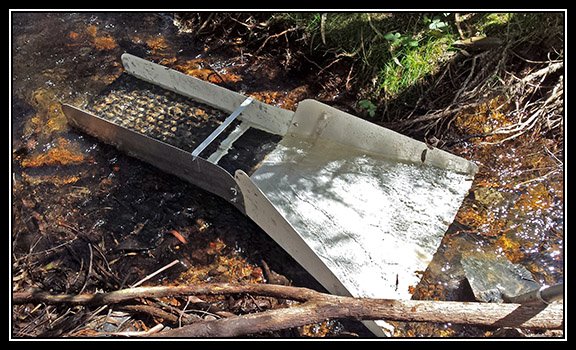
Please pardon the average photos, some were taken in poor lighting.
1511762695_diy_12___sluice_project_1.jpg

1511762695_diy_12___sluice_project_2.jpg

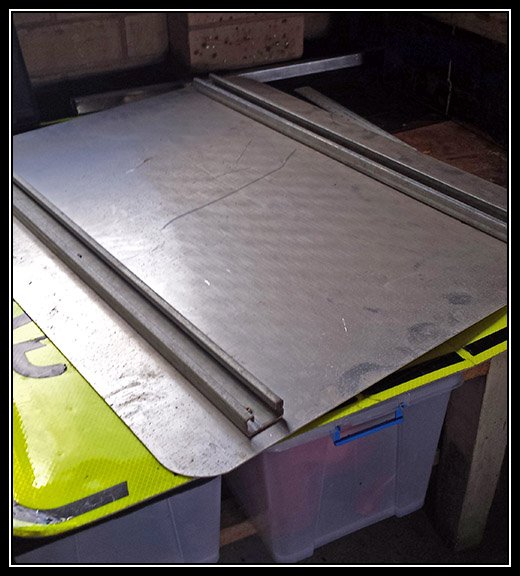
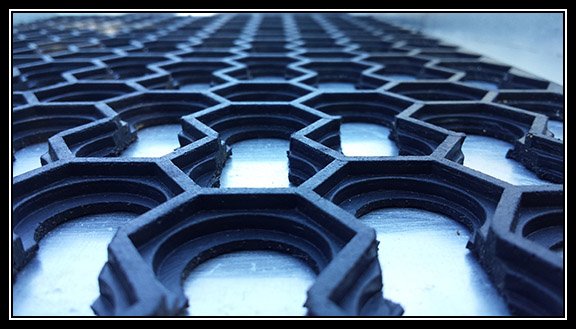
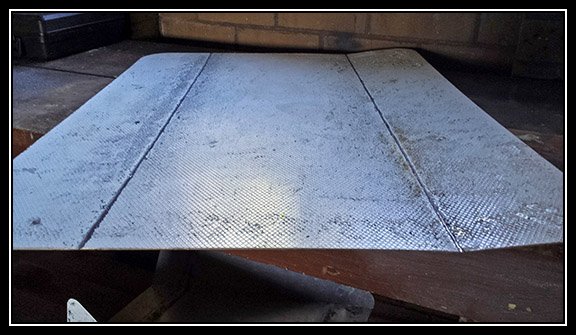
There not exactly perfect, I had to cut the bars of the back, but it's 2mm thick so is strong and sturdy.
1511762695_diy_12___sluice_project_5.jpg

1511762695_diy_12___sluice_project_6.jpg

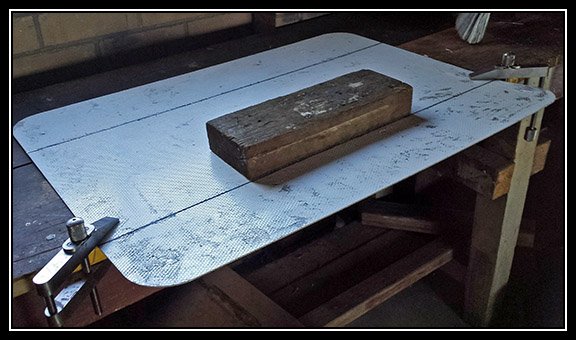
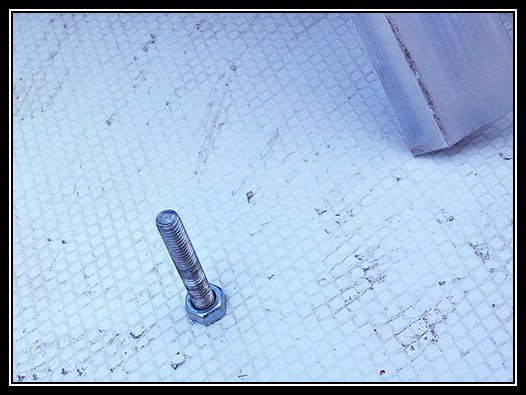
Due the thickness I realized it was going to be hard to get a sharp bend neatly, so I decided to experiment by cutting a small groove with the Dremel down the fold lines. It did the trick and allowed me to bend it up dodgy man style ( I stood on the wood and bent it up evenly by hand). :rolleyes:
1511762695_diy_12___sluice_project_4.jpg

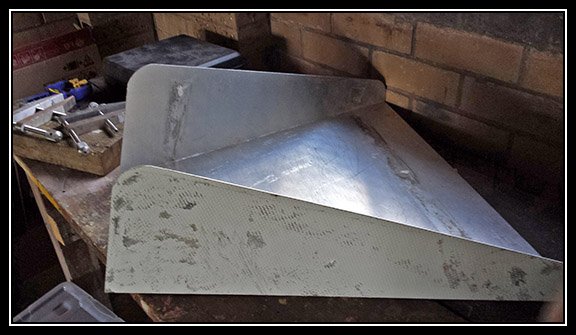
You can't really tell from this angle how big this flare is...she's got some girth. :D

More photos soon. :D :Y:
 
aussiefarmer said:
Be funny when 40 school kids get dropped off at the river :lol:
Looks good :Y:
That's the best spot for the disrespectful little turds :| Hope there is plenty of leeches for them too!
Bah humbug.

Nice work rusty.
 
Haahaa thanks for the feedback guys.
1512103604_bus_stop_sluice_bare_amp_upright.jpg
This is it bent up, and bolted together. Also added a brace/ handle across the Sluice length. I scraped off the sign's from the metal as you can see in the previous shots.
When I test ran it I found it difficult to get the water level right at the start of the Sluice body, so new holes were drilled. Now the start of the flare is about -3 from level (lower than Sluice). It now redirects more water in and makes getting the water level sorted WAY easier.
I'm thinking of experimenting with even more angle, so long as I'm not slowing the water entry by making it climb to steeper angle, an increase from 3 to maybe 5 might prove even better.

1512099227_bolt_under_mats.jpg
So as to make removing the mats and clean-ups easier, I decided to use a nut to permanently secure the main bracket bolt to the Sluice body.

1512099227_the_sluice_mat_pre-edit.jpg
Went to Bunnings and got this Hexagonal shaped door mat. It was cheap as and it's pretty light, I was curious to see how it would run.
I had a quick test run of the 'Hex Mat' and as I suspected, there was too many obstructions to water flow, as such it meant I would need very good water speed.
I plan on occasionally using it as a Highbanker extension where water speed and angle is much is easier to achieve.

1512099227_mat_pattern_post-edit.jpg
After opening up the mat by removing some of the ('cell walls'?), it now allows water to flow much faster through it while achieving greater exchange...which is critical when your not getting much rain to keep the creeks flowing well.

1512099227_mat_pattern.jpg
Random close shot that looked cool.

1512099227_sluice_amp_shovel.jpg
Finished the Bus Stop Sluice! The shovel is for dimension perspective.
The dimensions are length: 133cm(52.36"), width: 30cm(12"), Flare max width 65.5cm (25.8").

1512099227_bus_stop_sluice_running_in_the_water.jpg
With the mat 'opened up' I was real happy with how it ran given the water speed I had was very minimal.
Although we have had little rain lately, looks like some is coming! Looking forward to really putting this thing through it's paces and also testing it for the first time as a Highbanker extensions. I also made a backpack system for it which fits the buckets on the back aswell. Makes carting it around a lot easier and gives 2 hands for carrying the shovel.
All up it cost maybe $25. Sense of satisfaction on a DIY that turned out alright is great! :D :Y:
Hope this can help, even if only inspiration for your own future DIY. Check out your scrap metal yards; you never know what you might find! :eek:
 

Latest posts

Top